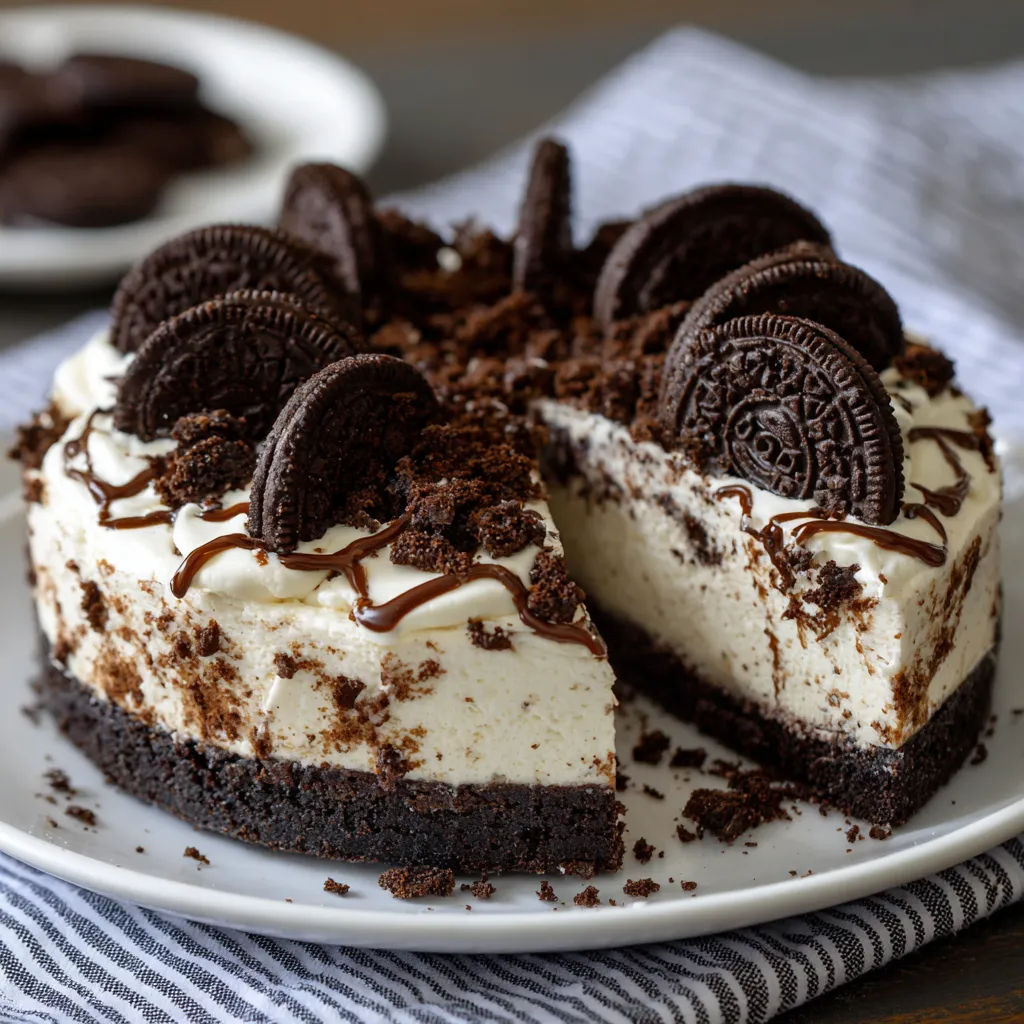
When it comes to DIY Desserts / Fun recipes, nothing beats the magic of a No-Bake Oreo Cheesecake. Creamy, rich, and loaded with crunchy Oreo cookies, this dessert is the definition of indulgence—without requiring hours in the kitchen. Whether you’re planning a family gathering, hosting a party with friends, or simply craving something sweet on a cozy night in, this cheesecake will become your go-to favorite.
The beauty of this recipe lies in its simplicity: no oven, no water baths, and no complicated techniques. Just a handful of pantry staples and a few Oreos transform into a dessert that looks bakery-worthy but is entirely achievable at home.
In this guide, we’ll dive deep into everything you need to know about making the perfect No-Bake Oreo Cheesecake, along with helpful tips, flavor variations, and serving suggestions that will elevate your experience with DIY Desserts / Fun recipes.
Ingredients for No-Bake Oreo Cheesecake
Here’s the complete list of what you’ll need:
For the Oreo Crust
-
24 Oreo cookies (regular, not Double Stuf, to maintain balance)
-
1/2 cup unsalted butter, melted
the Cheesecake Filling
-
24 Oreo cookies (roughly chopped or crushed)
-
16 oz cream cheese (2 packages), softened
-
1 cup powdered sugar
-
1 1/2 cups heavy whipping cream, chilled
-
1 tsp vanilla extract
-
1/4 cup granulated sugar
Garnish (Optional but recommended!)
-
Extra Oreo cookies (whole or crushed)
-
Whipped cream swirls
-
Chocolate syrup drizzle
Kitchen Tools Needed
Making this cheesecake doesn’t require fancy equipment. Here’s what will come in handy:
-
Food processor or zip-lock bag + rolling pin (for crushing cookies)
-
Mixing bowls (large and medium)
-
Hand mixer or stand mixer with whisk attachment
-
Springform pan (8-inch or 9-inch recommended)
-
Rubber spatula
-
Measuring cups and spoons
-
Offset spatula (for smooth spreading)
Step-by-Step Preparation
1: Make the Oreo Crust
-
Place the Oreos (including the filling) in a food processor and pulse until fine crumbs form. If you don’t have a processor, seal cookies in a zip-lock bag and crush with a rolling pin.
-
Pour melted butter over the crumbs and stir until evenly combined.
-
Press the mixture firmly into the bottom of your springform pan. Use the back of a spoon or a flat-bottomed glass for even packing.
-
Place the pan in the fridge to chill while you prepare the filling.
2: Prepare the Cheesecake Filling
-
In a large mixing bowl, beat the softened cream cheese with powdered sugar until smooth and creamy.
-
In a separate bowl, whip the heavy cream with granulated sugar and vanilla extract until stiff peaks form.
-
Gently fold the whipped cream into the cream cheese mixture using a spatula. This creates a light and airy filling.
-
Fold in the chopped Oreos until evenly distributed.
3: Assemble the Cheesecake
-
Pour the cheesecake filling over the chilled Oreo crust.
-
Smooth the top with an offset spatula.
-
Refrigerate for at least 6 hours, preferably overnight, to set completely.
4: Garnish and Serve
-
Once set, remove cheesecake from the springform pan.
-
Decorate with whipped cream swirls, extra Oreos, or a drizzle of chocolate syrup.
-
Slice with a sharp knife (wipe between cuts for clean slices) and serve chilled.
Tips for the Perfect No-Bake Oreo Cheesecake
-
Use chilled cream cheese and whipping cream – This ensures a firm, creamy texture that sets beautifully.
-
Don’t rush chilling time – The cheesecake needs at least 6 hours, but overnight is best. Patience pays off with a perfectly firm dessert.
-
Experiment with Oreos – Try Golden Oreos for a lighter version or mint Oreos for a refreshing twist.
-
Make mini cheesecakes – Use cupcake liners and muffin tins for individual servings of DIY Desserts / Fun recipes.
-
Freeze for a firmer texture – Want an ice cream–like treat? Freeze the cheesecake for a couple of hours before serving.
Flavor Variations for More Fun Recipes
The classic Oreo cheesecake is already irresistible, but here are creative twists:
-
Peanut Butter Oreo Cheesecake – Add 1/2 cup peanut butter to the cream cheese mixture.
-
Mocha Oreo Cheesecake – Mix in 2 tbsp instant coffee powder for a café-style dessert.
-
Berry Oreo Cheesecake – Fold in fresh strawberries or raspberries for fruity sweetness.
-
Nutella Oreo Cheesecake – Swirl Nutella into the filling for a chocolate-hazelnut upgrade.
-
Holiday Oreo Cheesecake – Use red velvet or peppermint Oreos for festive occasions.
Nutritional Value (Approx. per slice, serves 12)
-
Calories: 420
-
Carbohydrates: 38 g
-
Sugars: 27 g
-
Fat: 28 g
-
Saturated Fat: 16 g
-
Protein: 6 g
-
Fiber: 1 g
Note: Values vary depending on Oreos and cream cheese brands used.
Why This Dessert Belongs in Your DIY Desserts / Fun Recipes Collection
This recipe embodies everything that makes DIY Desserts / Fun recipes so enjoyable:
-
Simple process – No oven, no stress.
-
Crowd-pleaser – Perfect for birthdays, holidays, or casual get-togethers.
-
Customizable – Endless variations with different Oreo flavors and toppings.
-
Instagram-worthy – A dessert that looks as good as it tastes.
Creative Serving Ideas
-
Serve with a tall glass of cold milk for a nostalgic treat.
-
Pair with hot chocolate or coffee for cozy evenings.
-
Add sparkler candles on top for a fun birthday surprise.
-
Slice into small squares for dessert bars at parties.
-
Drizzle caramel or strawberry sauce for extra flavor layers.
Storage and Make-Ahead Tips
-
In the fridge – Store covered for up to 5 days.
-
In the freezer – Wrap tightly and freeze up to 2 months. Thaw overnight in the fridge before serving.
-
Make-ahead option – Prepare 1–2 days in advance; in fact, flavor improves with chilling time.
Conclusion
If you love exploring DIY Desserts / Fun recipes, this No-Bake Oreo Cheesecake is the perfect addition to your collection. It’s easy, versatile, and irresistibly delicious. From its crunchy Oreo crust to its creamy, cookie-filled filling, every bite is pure indulgence.
The best part? You don’t need to be a pastry chef to pull it off. With just a few simple steps, you’ll impress your family and friends with a dessert that tastes like it came straight from a bakery.
So, the next time you’re craving something sweet and unforgettable, skip the oven and grab a pack of Oreos. This cheesecake is waiting to make your dessert dreams come true.