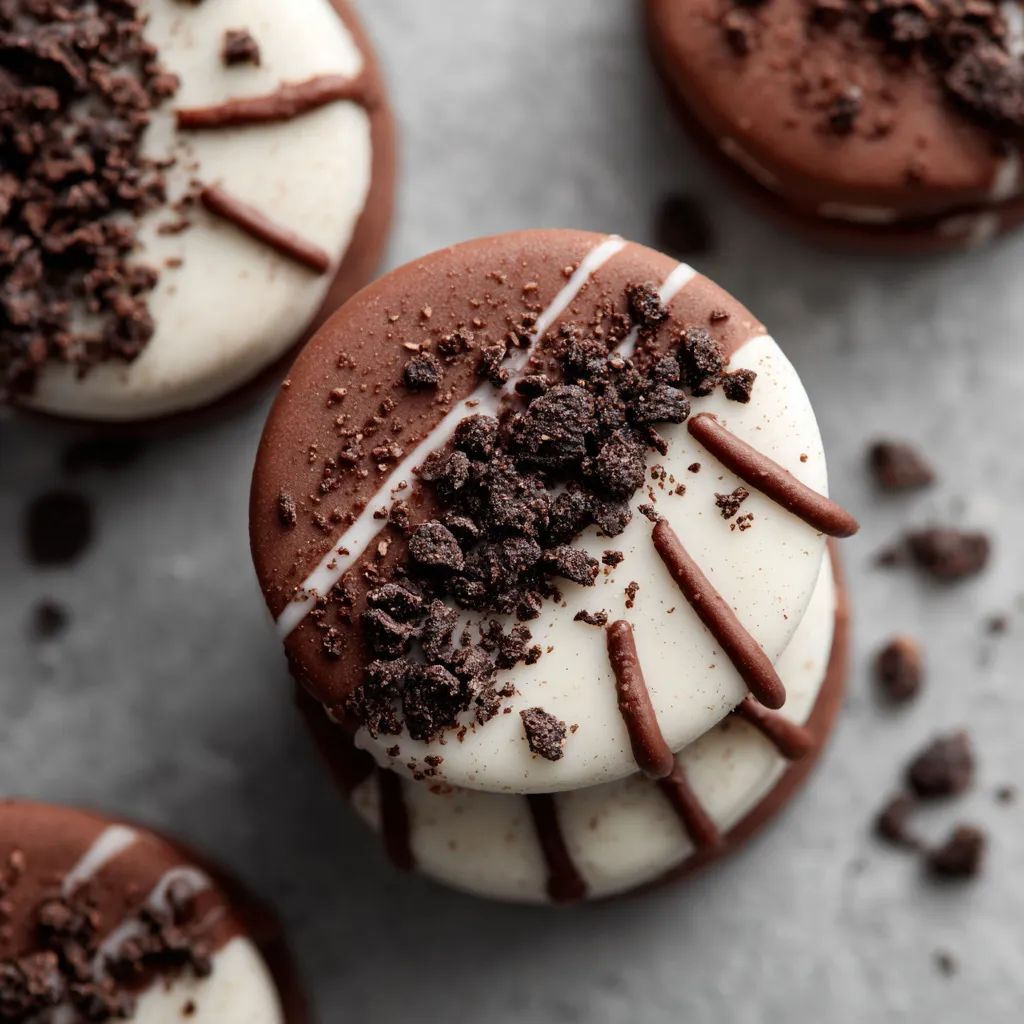
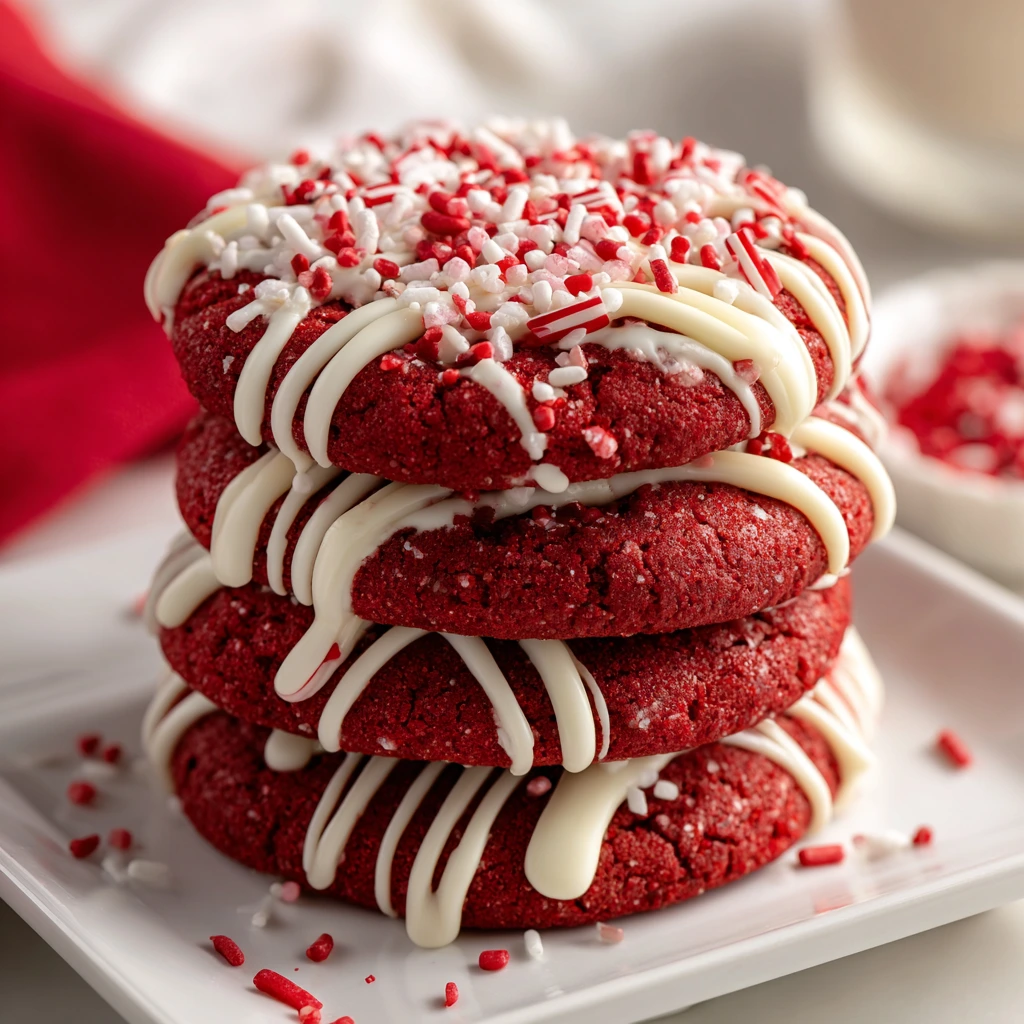
When the holiday season arrives, one thing is certain: Christmas desserts steal the show. Among the countless festive sweets, Chocolate Covered Oreos stand out as one of the easiest, most versatile, and most crowd-pleasing holiday treats you can make.
With just a few simple ingredients, you can transform classic Oreos into sparkling little treasures coated in chocolate, decorated with sprinkles, and bursting with holiday cheer. Whether you’re hosting a Christmas party, preparing edible gifts, or creating a fun baking activity for kids, Chocolate Covered Oreos for Christmas are always a hit.
This guide will walk you through everything you need to know—ingredients, step-by-step instructions, decorating ideas, storage tips, nutritional info, and pro tricks to make them look bakery-perfect.
Why Chocolate Covered Oreos Are Perfect for Christmas
-
Quick & Easy – Just melt, dip, and decorate!
-
Customizable – Endless options for sprinkles, colored chocolate, and designs.
-
Budget-Friendly – No fancy ingredients needed.
-
Giftable – Wrap them in festive bags or boxes for homemade edible gifts.
-
Kid-Friendly – A fun project the whole family can enjoy together.
When you think of Christmas desserts, you probably picture gingerbread cookies, candy canes, or fruitcake. But these little chocolate-dipped cookies bring something unique: a combination of crunchy, creamy, chocolatey goodness that requires almost zero effort but delivers maximum holiday spirit.
Ingredients You’ll Need
For a basic batch of Chocolate Covered Oreos (about 24 cookies):
-
1 package of Oreos (classic, double-stuffed, or seasonal flavors like peppermint)
-
12 oz semi-sweet chocolate chips (or candy melts)
-
12 oz white chocolate chips (for variety and decorating)
-
2 tbsp coconut oil or shortening (to smooth the chocolate)
-
Christmas sprinkles (red, green, white)
-
Crushed candy canes (optional, for a peppermint touch)
-
Colored candy melts (red and green, optional for designs)
Kitchen Tools You’ll Need
-
Microwave-safe bowls (or a double boiler)
-
Fork or dipping tool
-
Baking sheet
-
Parchment or wax paper
-
Small piping bags (optional, for designs)
Step-by-Step Instructions
Step 1: Prep Your Workspace
Line a baking sheet with parchment paper. This will prevent the cookies from sticking and make cleanup much easier.
Step 2: Melt the Chocolate
In a microwave-safe bowl, melt semi-sweet chocolate with 1 tbsp coconut oil in 30-second intervals, stirring each time until smooth. Repeat with white chocolate in a separate bowl.
Step 3: Dip the Oreos
Using a fork, dip each Oreo into the melted chocolate until fully coated. Tap gently to remove excess chocolate. Place on the prepared baking sheet.
Step 4: Decorate While Wet
Before the chocolate sets, sprinkle with Christmas sprinkles, crushed candy canes, or drizzle with colored candy melts.
Step 5: Let Them Set
Refrigerate the baking sheet for about 15–20 minutes, or until the chocolate hardens completely.
Step 6: Store or Gift
Place the Chocolate Covered Oreos in airtight containers, festive tins, or cellophane gift bags. Store at room temperature for up to 2 weeks.
Creative Decorating Ideas for Christmas
-
Santa Oreos – Dip half the Oreo in white chocolate, add red sprinkles for the hat, and use mini chocolate chips for eyes.
-
Snowflake Oreos – Coat in white chocolate, then pipe blue icing snowflake patterns on top.
-
Christmas Tree Oreos – Use green candy melts to draw a tree shape and decorate with tiny sprinkle “ornaments.”
-
Peppermint Crunch – Dip in chocolate and immediately press crushed candy canes on top.
-
Golden Glam – Dust with edible gold glitter for an elegant Christmas party treat.
Helpful Tips for Perfect Results
-
Use candy melts for brighter, shinier colors that set quickly.
-
Don’t overheat the chocolate—burnt chocolate becomes grainy and unusable.
-
Work in small batches so the chocolate doesn’t harden while you’re decorating.
-
Experiment with Oreo flavors—peppermint, golden, or gingerbread Oreos are especially festive for Christmas.
-
Package beautifully—use ribbons, tins, or jars to make them look store-bought.
Storage and Shelf Life
-
Room temperature: Up to 2 weeks in an airtight container.
-
Refrigerated: Up to 3 weeks.
-
Frozen: Up to 2 months (though sprinkles may lose color vibrancy).
Nutritional Value (per Oreo, approx.)
-
Calories: 150
-
Carbohydrates: 20 g
-
Sugars: 14 g
-
Fat: 7 g
-
Protein: 1 g
(Values may vary depending on the type of chocolate and decorations used.)
Making Chocolate Covered Oreos a Christmas Tradition
Christmas isn’t just about food—it’s about tradition, togetherness, and making memories. Baking and decorating Chocolate Covered Oreos with your family can become a fun yearly ritual. Kids can handle the sprinkles while adults take care of the chocolate dipping.
Better yet, they double as thoughtful, homemade gifts. Place a few decorated Oreos in clear bags, tie them with festive ribbons, and hand them out to teachers, neighbors, or co-workers.
Serving Suggestions
-
Holiday dessert table – Arrange them on a platter with Christmas cookies, fudge, and truffles.
-
Hot chocolate pairing – Serve alongside mugs of peppermint hot cocoa.
-
Stocking stuffers – Wrap individually and tuck into stockings.
-
Christmas Eve movie night – Snack on them while watching holiday classics.
Expanding Your Christmas Dessert Lineup
While Chocolate Covered Oreos shine on their own, they pair beautifully with other holiday staples like:
-
Gingerbread cookies
-
Candy cane bark
-
Christmas fudge
-
Green Bean Casserole (as a savory contrast for a full dinner menu)
By combining sweet and savory, you’ll create a truly memorable Christmas feast.
Conclusion
When it comes to easy, festive, and delightful Christmas desserts, Chocolate Covered Oreos are hard to beat. They’re simple to make, fun to decorate, and endlessly customizable for the holiday season. Whether you’re creating them for a party, as gifts, or just as a cozy Christmas family activity, these treats will add sparkle and joy to your celebrations.

